Follow the steps below to create and customize your project.
Step 1: Open the Projects Page
1. Log in to your Plutio account.
2. From the left sidebar menu, click on Projects.
3. Click the green  button to start creating a new project.
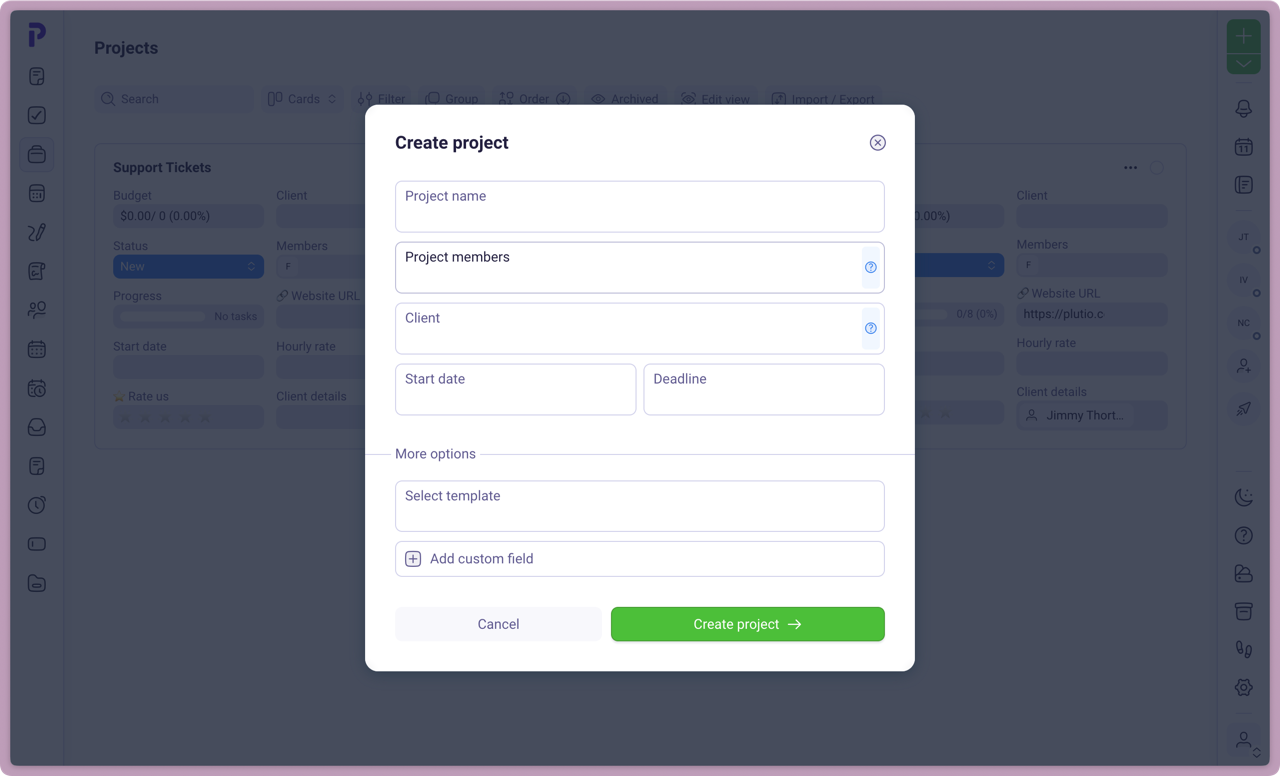
Step 2: Enter Project Details
Project Name: Give your project a clear and descriptive name.
Project Members: Add members to your project
Client: Assign the project to an existing client or create a new one.
Start Date & Deadline: Set the expected timeline for the project.
Start from a template: if you have existing project templates, you may create a new project from a template.

Once done, click “Create Project” to proceed.
Step 3: Customize Your Project Settings
After creating the project, you can further customize its settings:
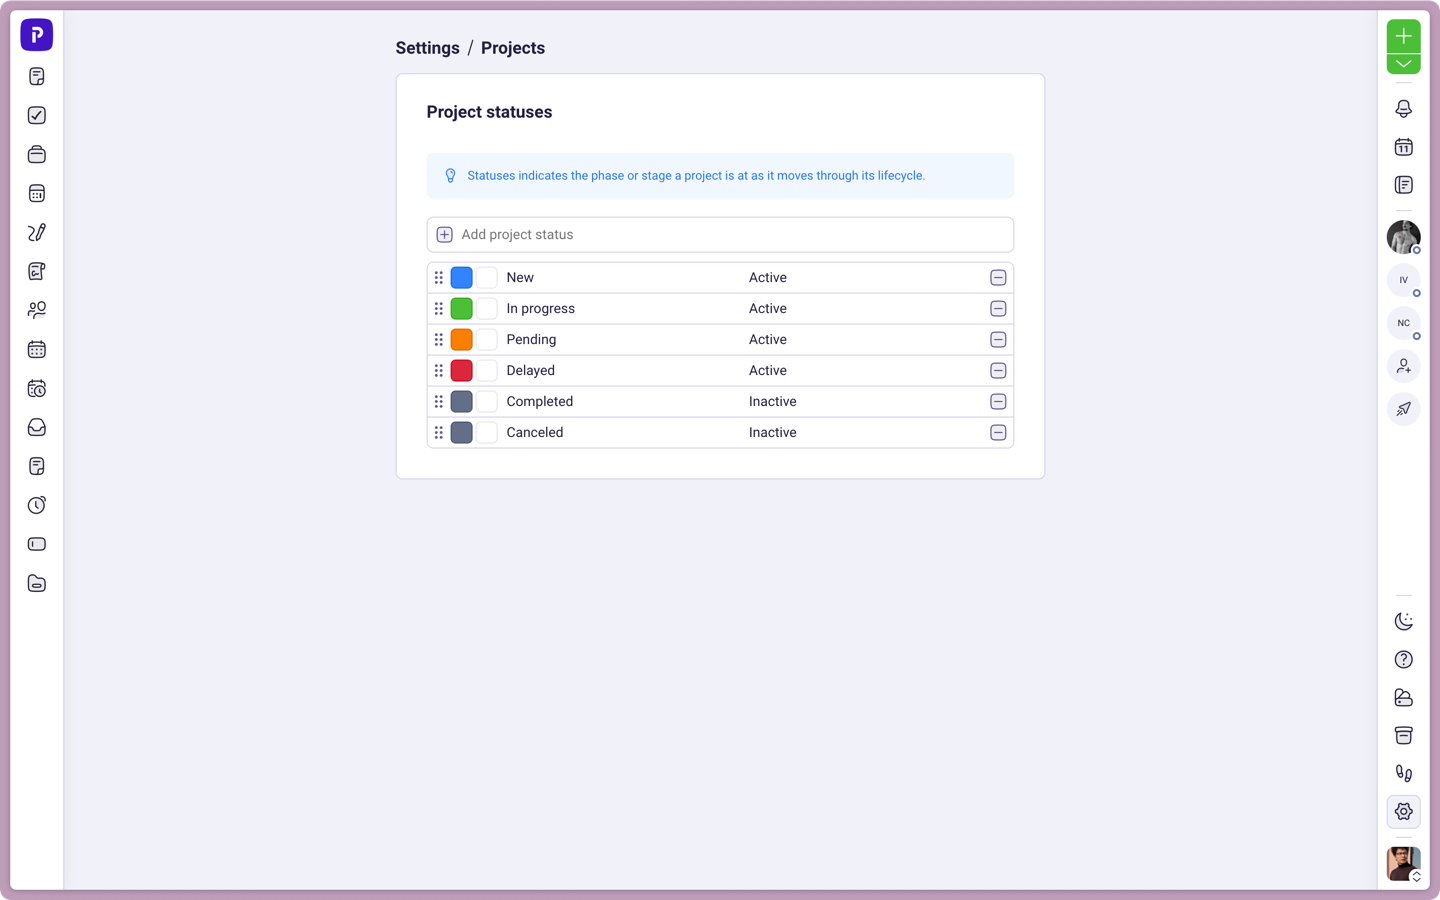
 Set Project Status
Projects can have statuses such as “New”, “In Progress”, or “Delivered to client” (for example).
These statuses can be assigned as Active or Inactive, helping you keep track of ongoing work.
You can also create custom statuses to align with your workflow. Set custom status 
Projects can also be Archived if you no longer want to see them (but want to keep them).
 Customize Appearance
Assign a color and icon to your project for easy identification.
Organize projects visually by applying color codes based on priority, client, or type.
For further customization, read this article:
 Add Team Members & Clients

Hover over the Profile Icons and click the Pencil icon to manage project members
Click Add members and choose a profile.
Done!